¶ Introduction
The em-smart Mopa supports all features of LightBurn software. This guide covers the software interface, common status indicators, and basic operational workflows.
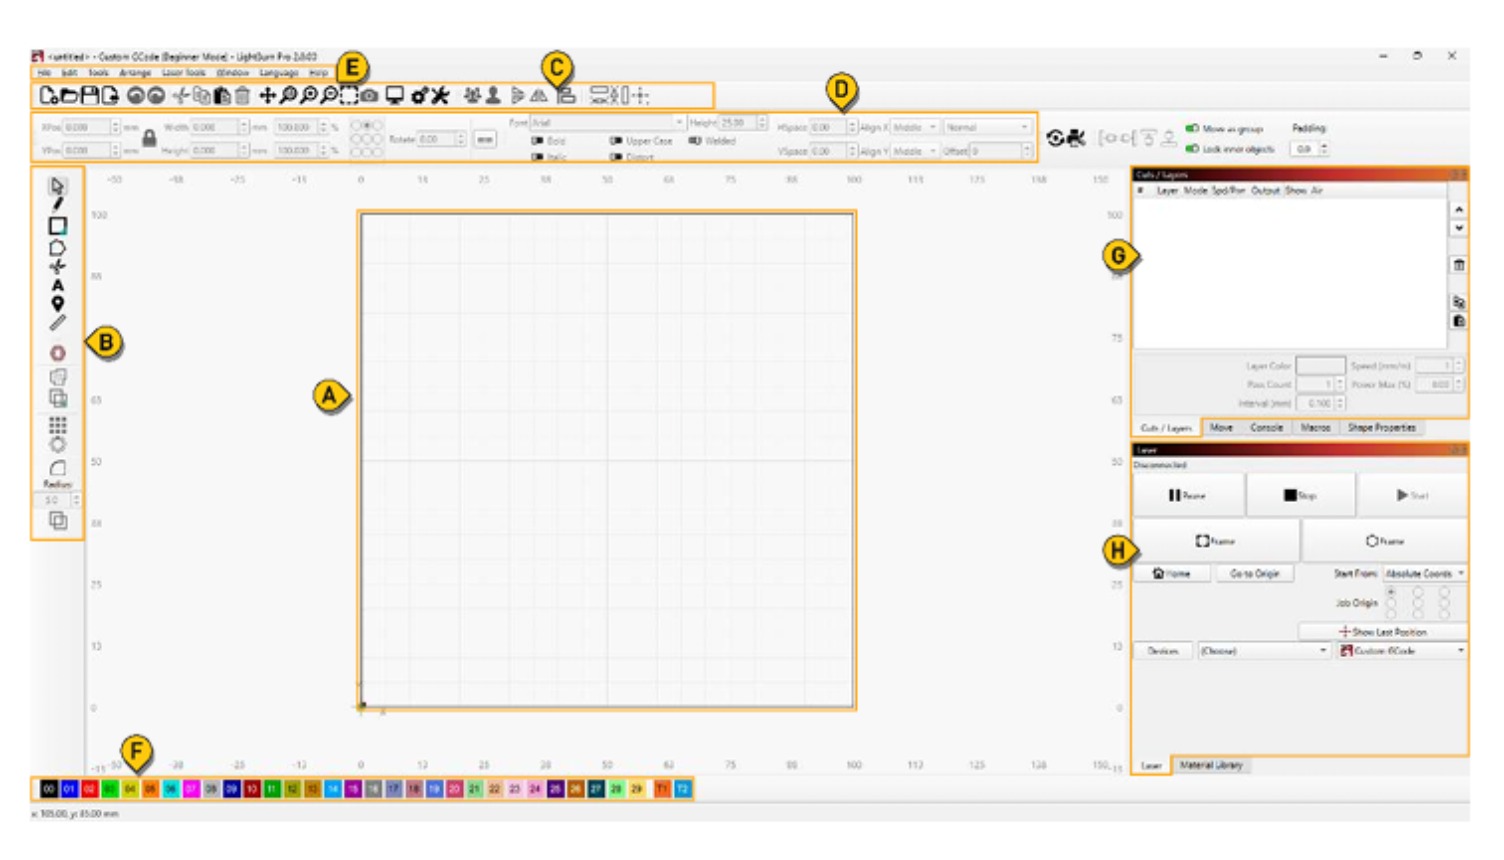
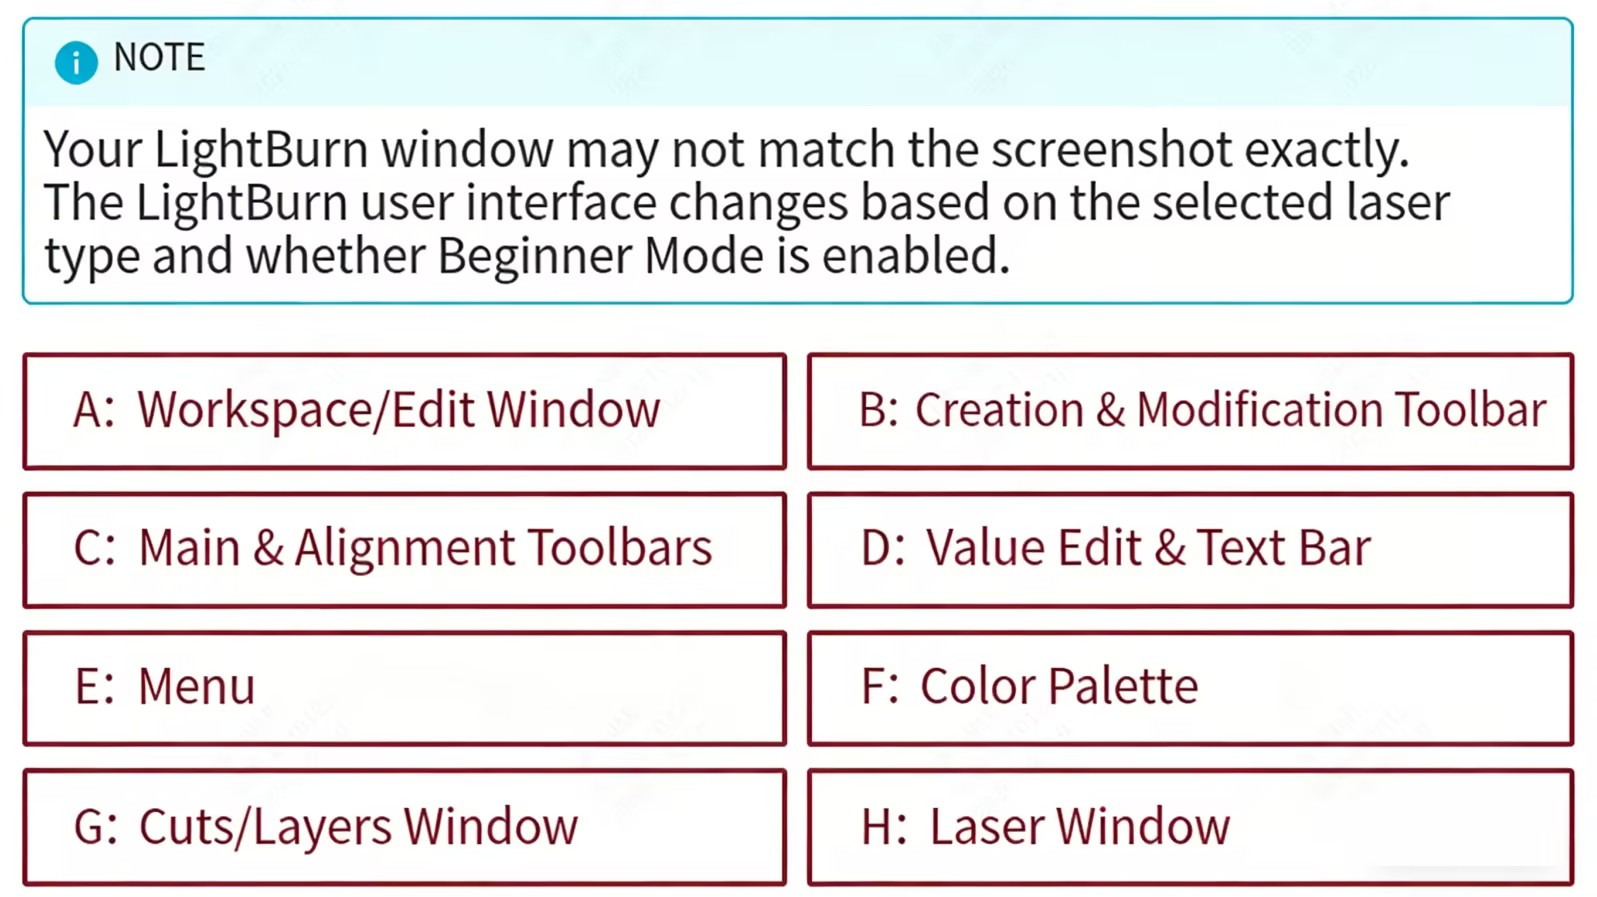
¶ Software Interface & Status Indicators
Understanding the device status is crucial for a smooth workflow:
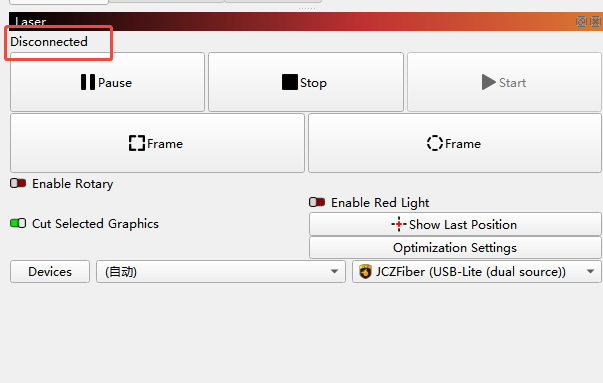
• Disconnected: The software is not communicating with the machine. Check the USB connection and whether to turn on.
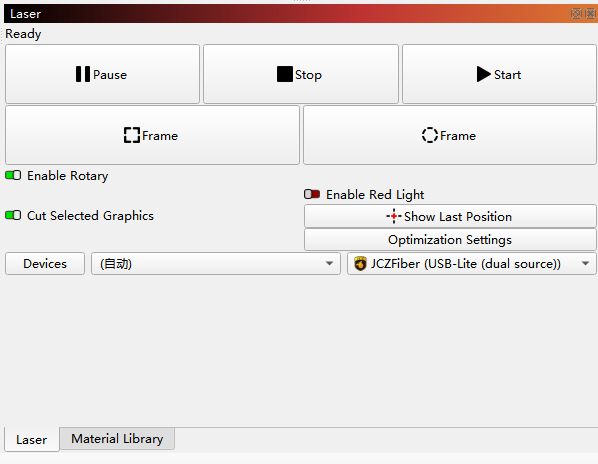
• Connected: Device is ready for your laser engraving/cutting commands.
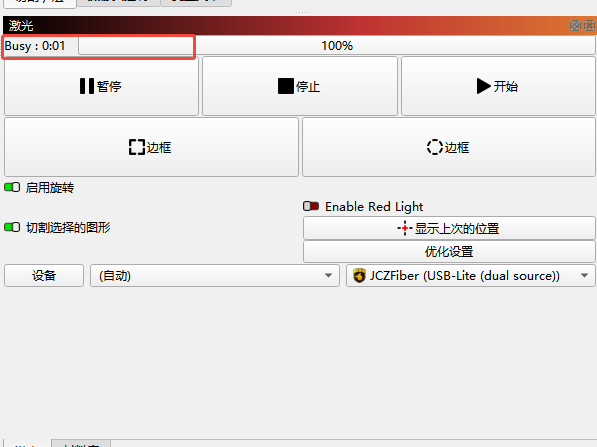
• Processing: The machine is currently processing; the elapsed time is displayed as shown below.
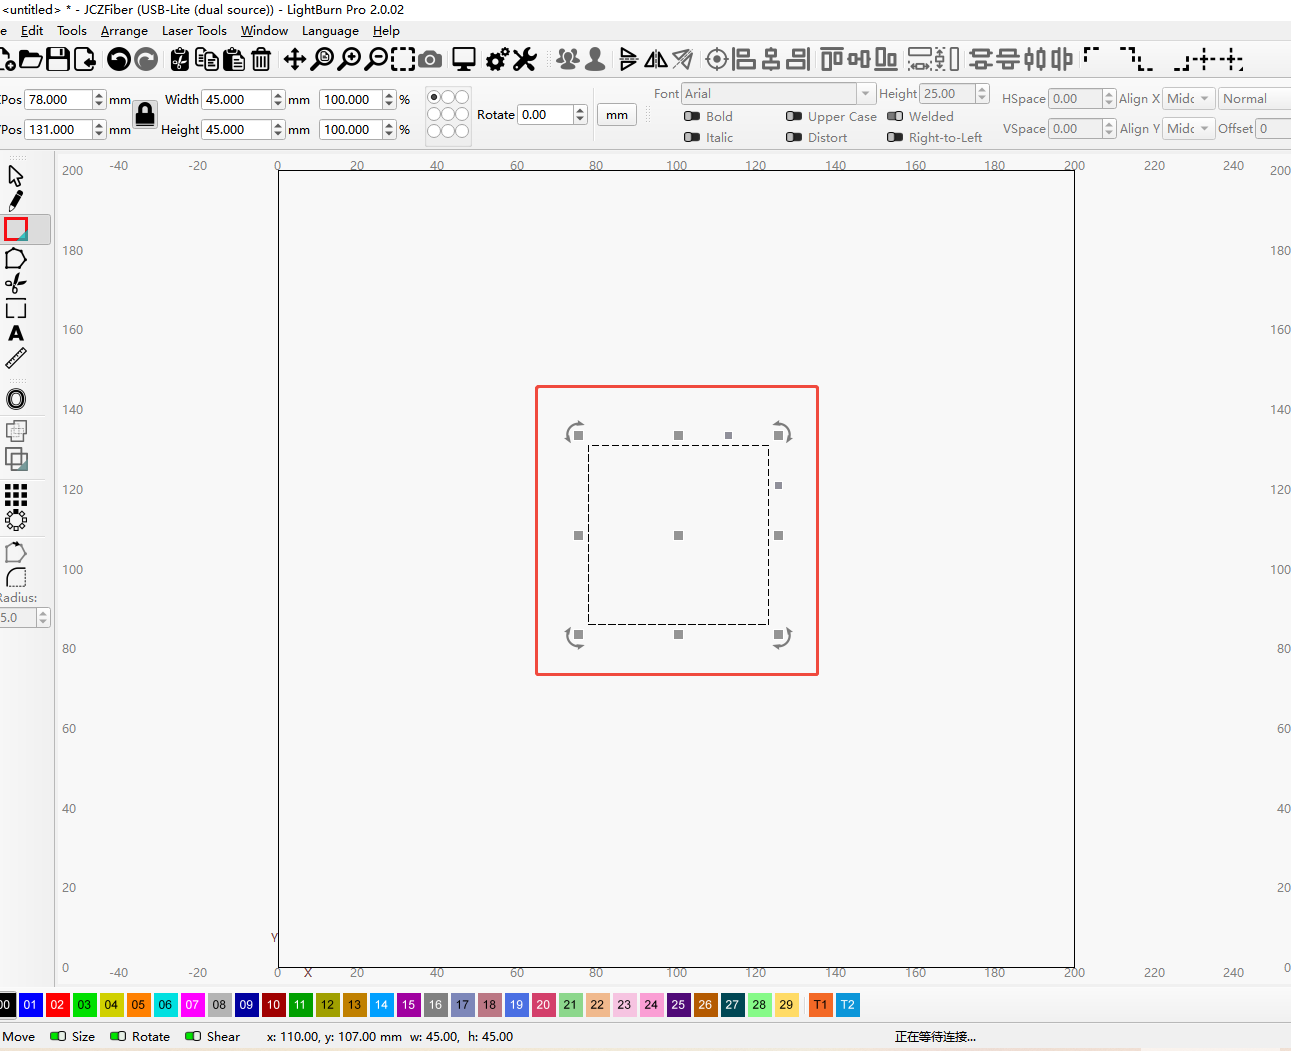
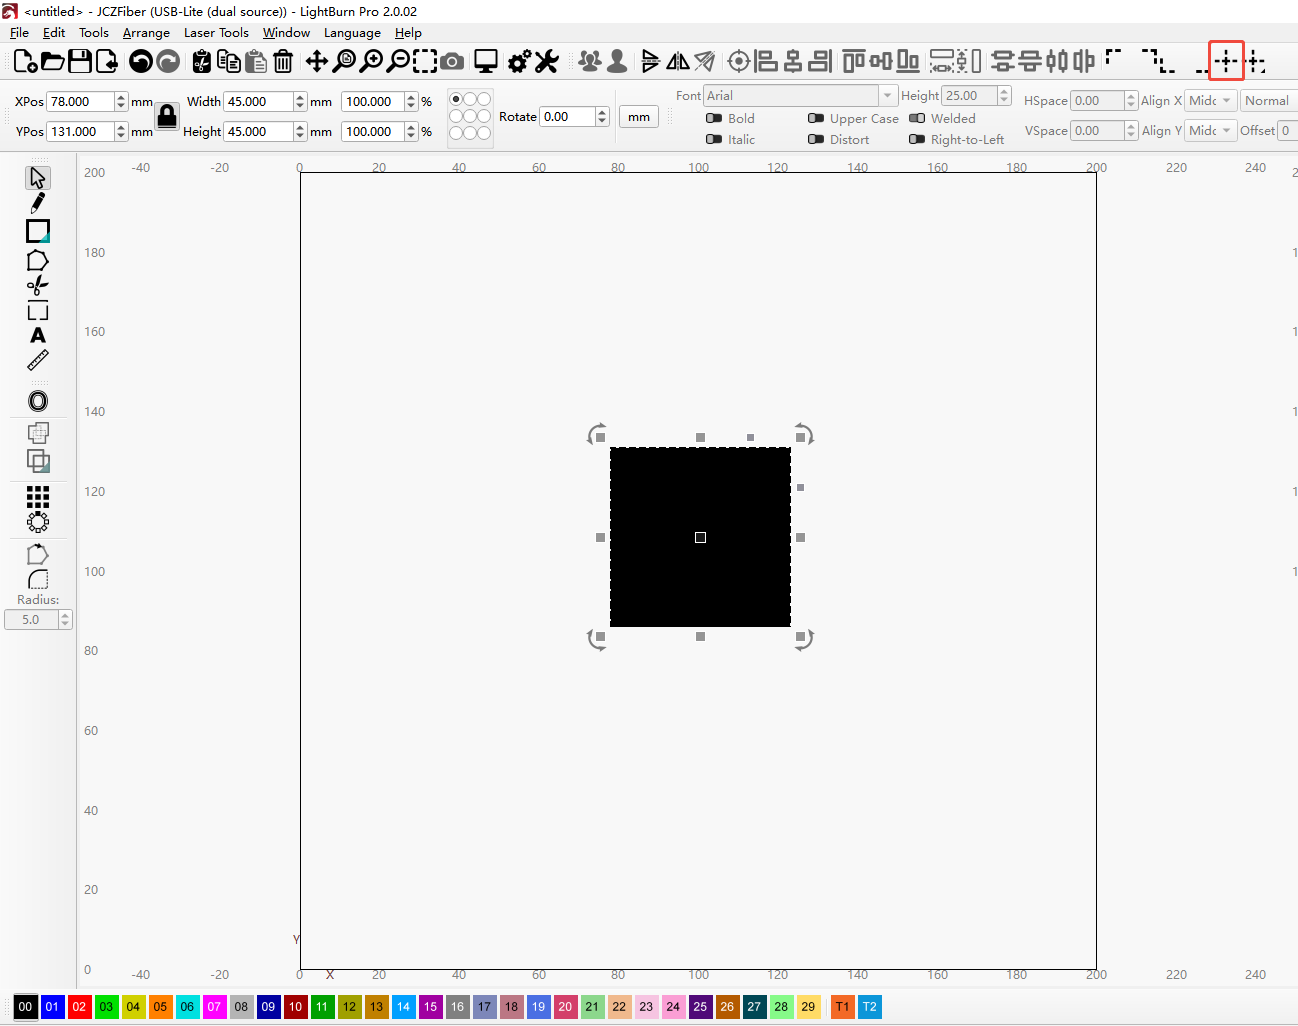
• Object Selected: Indicates the graphic is selected. You can perform size editing, rotation, and processing. Placing the mouse on the center point allows you to move the graphic.
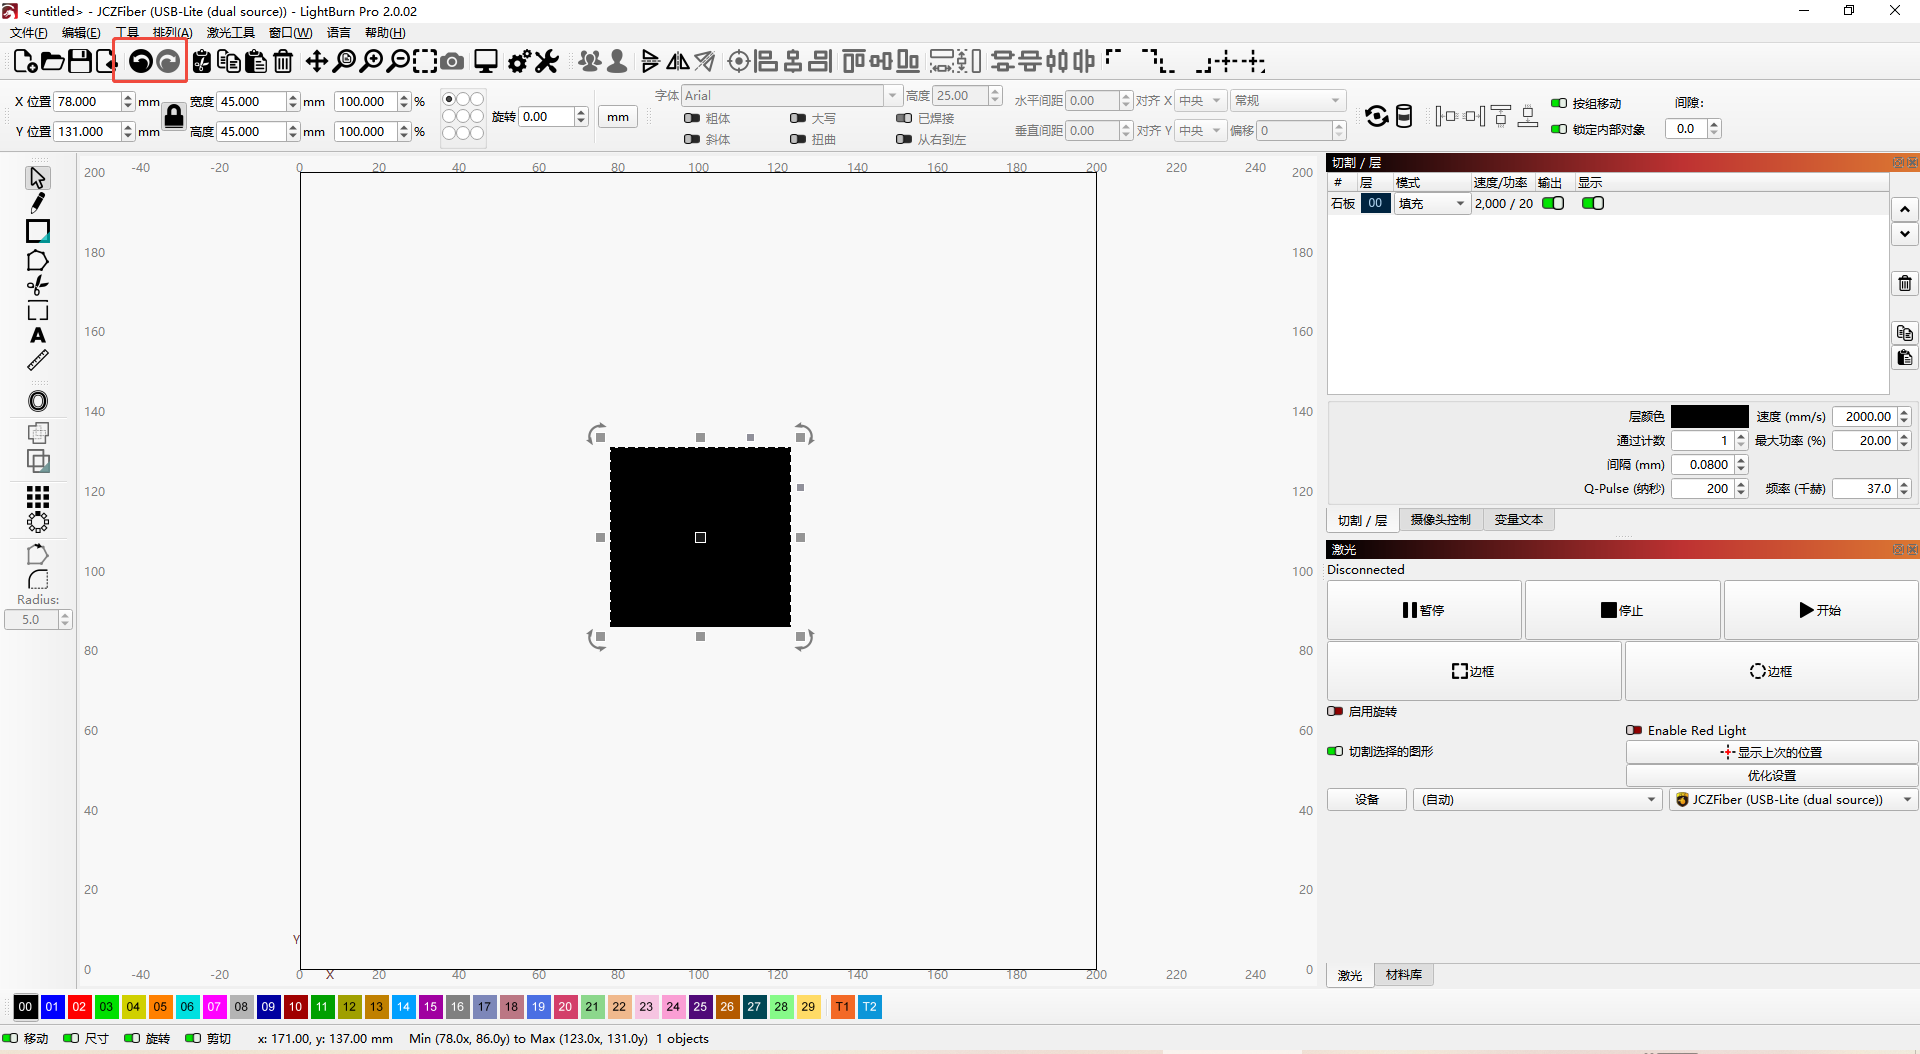
• Undo/Redo: Undo and Redo allow you to cancel or re-apply changes made to the project. If you make an edit you regret, you can roll it back; if you only regret it temporarily, you can restore the undone edit. Undo and Redo in LightBurn are unlimited—the list of actions will be reset only when you exit the program or open a new project.
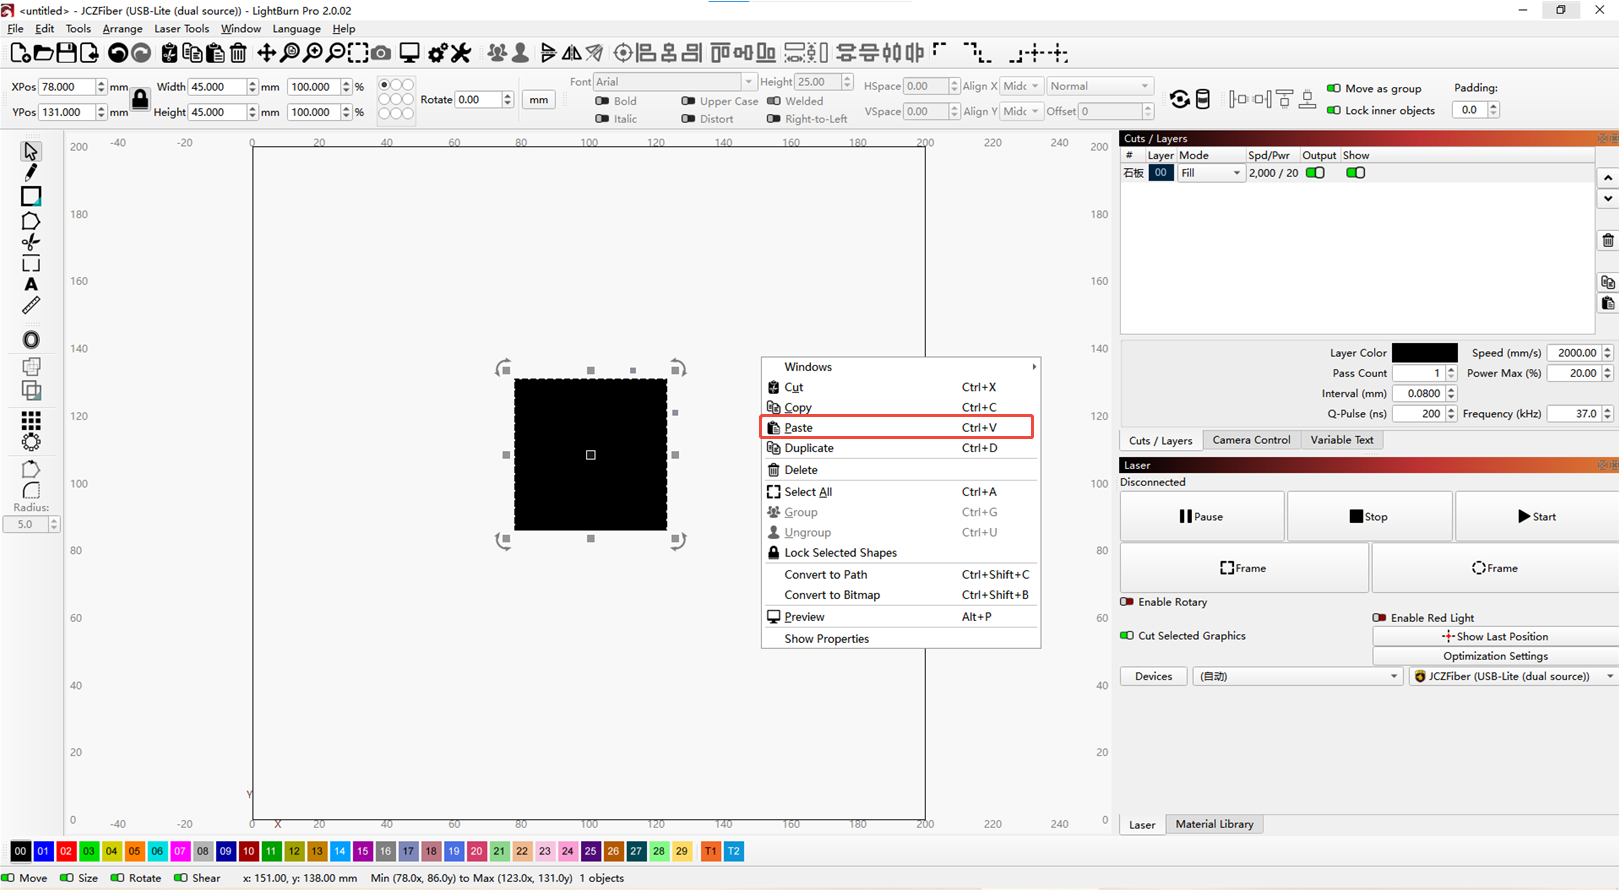
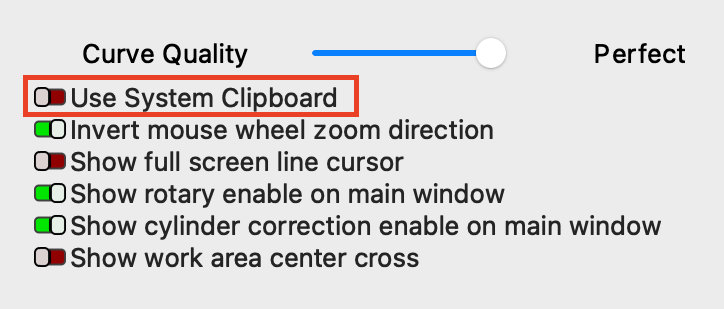
• Importing: LightBurn can directly copy images or text from the system clipboard into the software.
¶ File Import
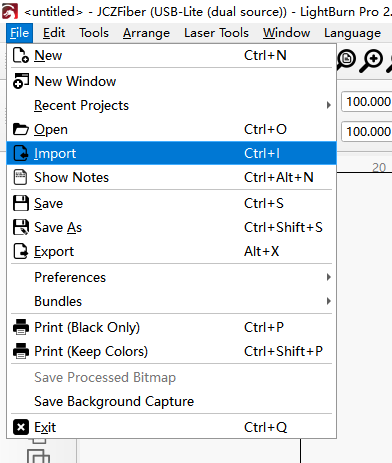
Use the file management tools to start a new project, save current projects, open saved projects, and "Import" or "Export" works in other file formats.
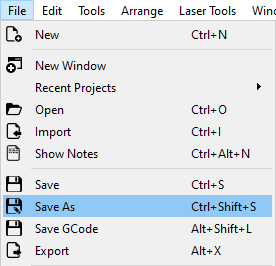
• Import Laser Engraving File
• Select Graphic with Arrow
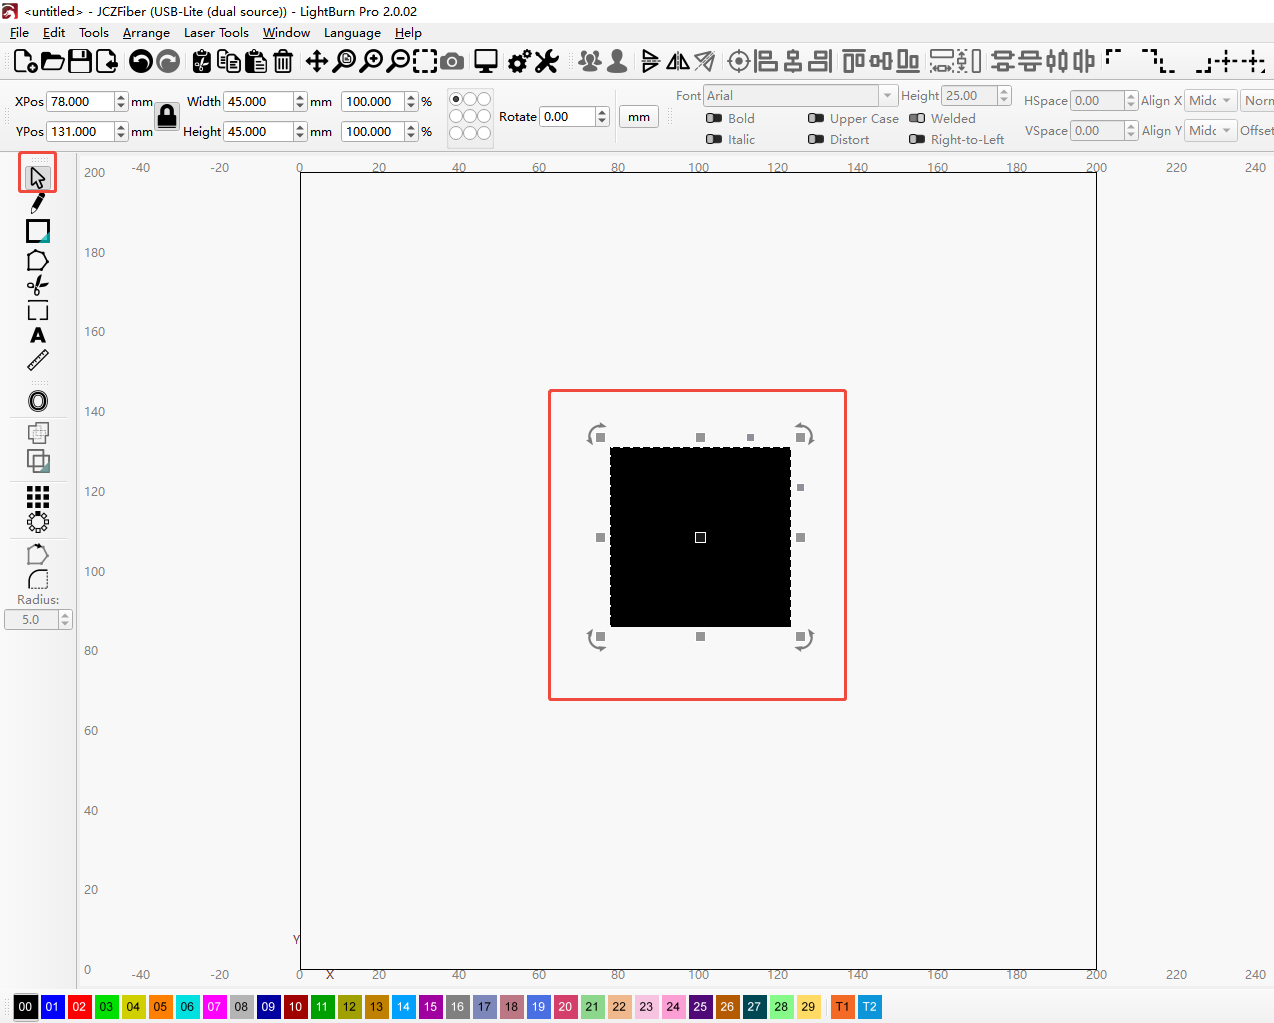
• Center Graphic
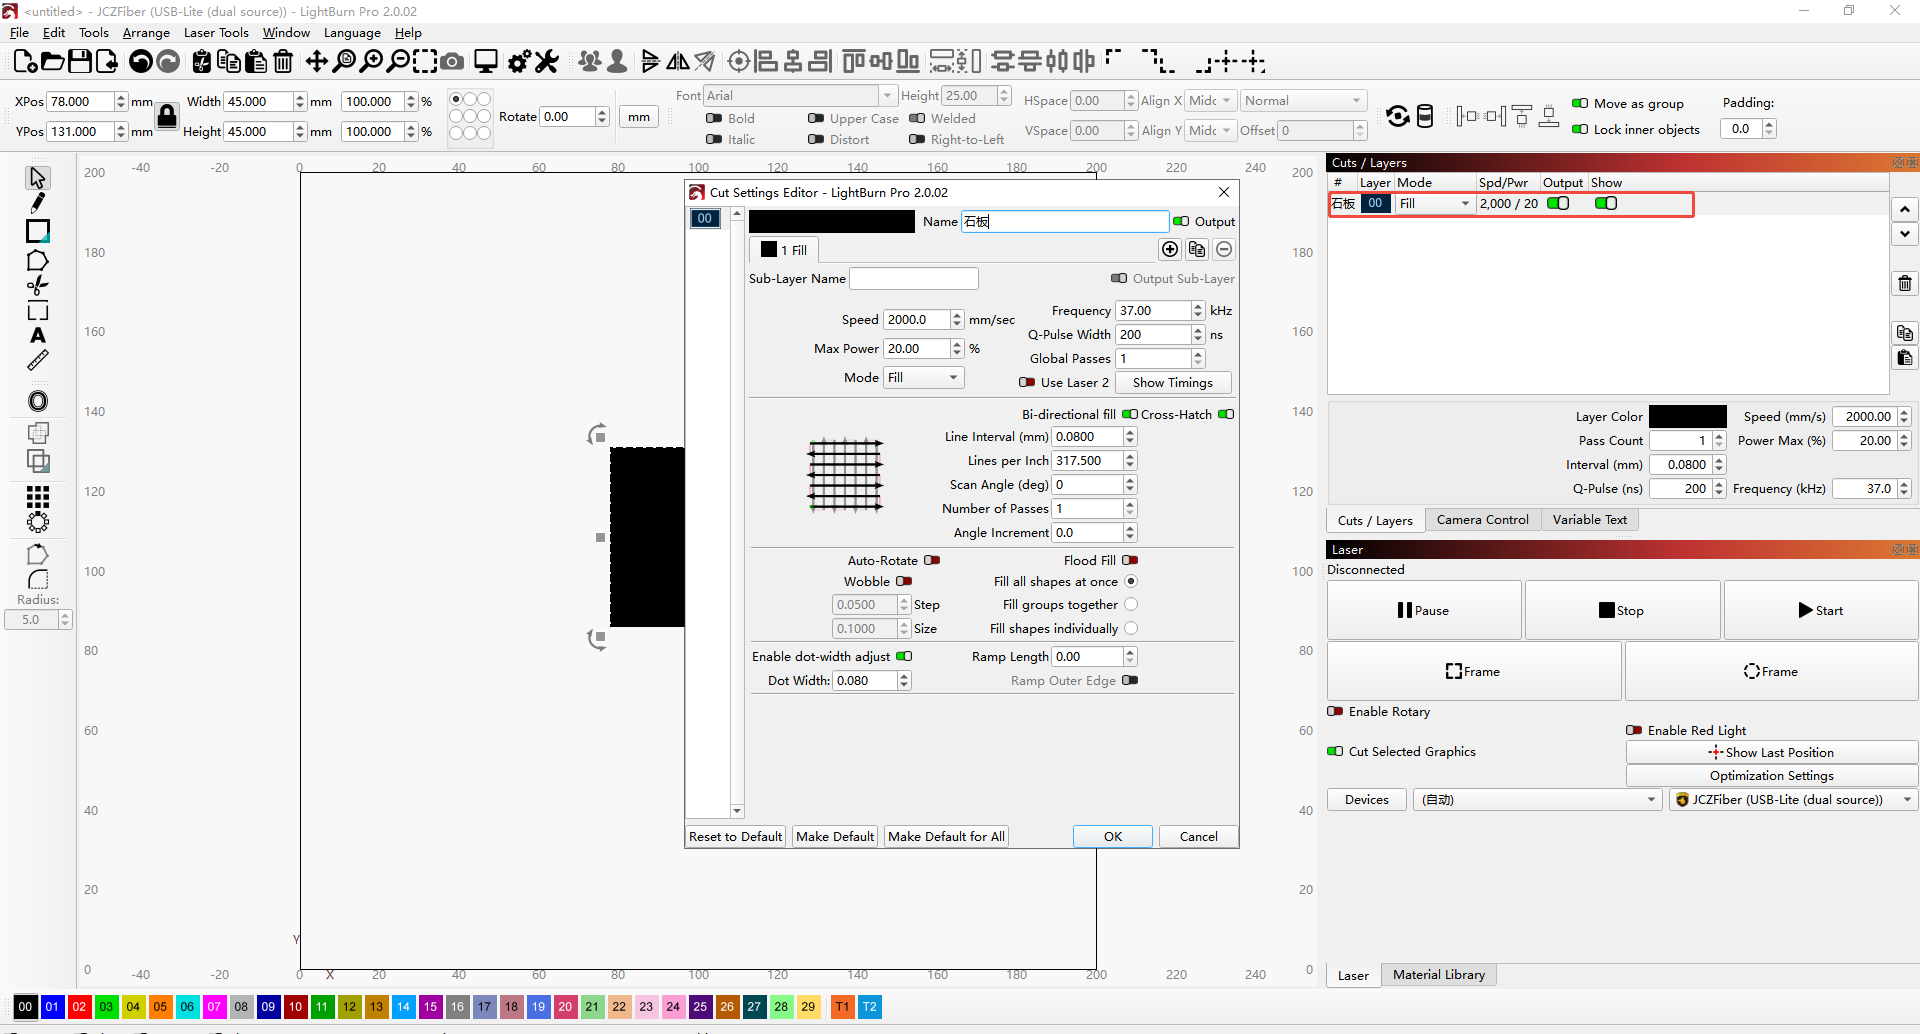
• Double-click to Set Parameters
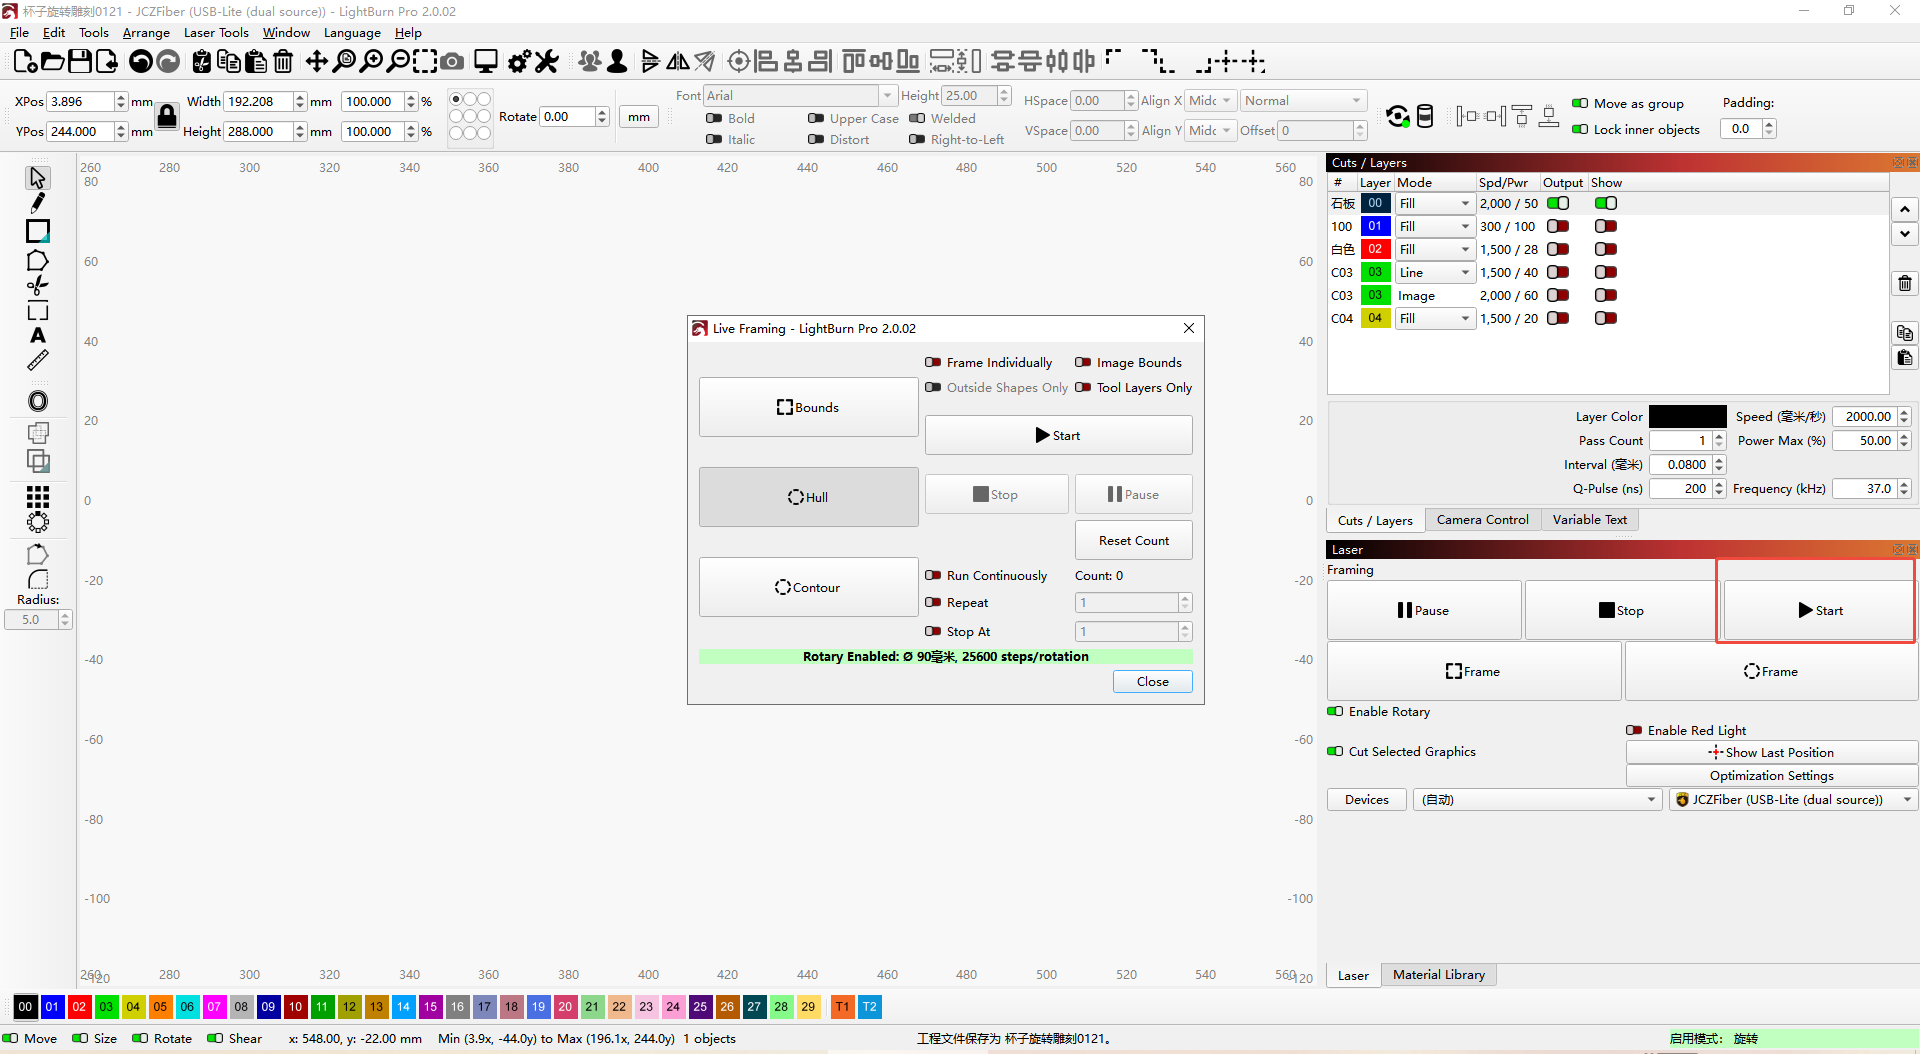
• Click Start to Begin Laser Engraving
¶ Parameter Introduction
¶ 1.Basic Role of Power
Power is the core indicator of laser output energy and directly determines the intensity of the laser's effect on the material. High power (e.g., 30W - 60W) enables rapid material laser cutting and deep engraving; low power is suitable for surface marking and light engraving.
Power settings must match material characteristics; excessive power can easily cause material burning or deformation, while too low power will fail to achieve the desired processing effect.
¶ 2.Impact of Speed on Effect
Speed controls the movement rate of the laser head across the material surface, determining the duration of energy application.
• At low speeds, more laser energy accumulates, resulting in deeper processing and clearer markings, but efficiency is lower and edges may overburn.
• At high speeds, the energy application time is short, resulting in shallower processing and higher efficiency, but markings may be incomplete or cutting may be unfinished.
Speed and Power must be adjusted in coordination: high power with appropriate speed balances efficiency and effect; low power with low speed avoids insufficient energy.
¶ 3.Basic Role of Frequency
Frequency applies to pulsed lasers and refers to the number of laser pulse outputs per unit of time (Unit: kHz).
• At high frequencies, the pulse density is high, making processing lines smoother and more delicate, suitable for fine engraving and high-precision cutting.
• At low frequencies, the pulse interval is large, and energy is concentrated in a single pulse, suitable for thick material cutting and deep engraving, reducing the heat-affected zone.
Frequency also affects processing efficiency; high-frequency processing is relatively faster but must be matched with power and speed to avoid energy waste.
¶ Electric/Manual Focusing
• Step 1: Ensure the device is powered on and opened normally; observe the position of the red light dots.
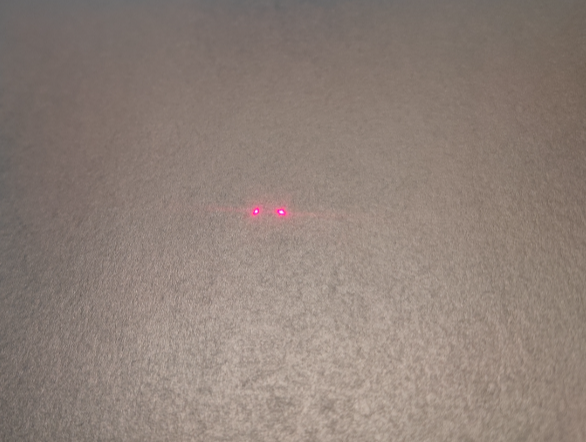
• Step 2: Long-press the Up/Down buttons on the side to make the red dots overlap. (Shown on the right.)
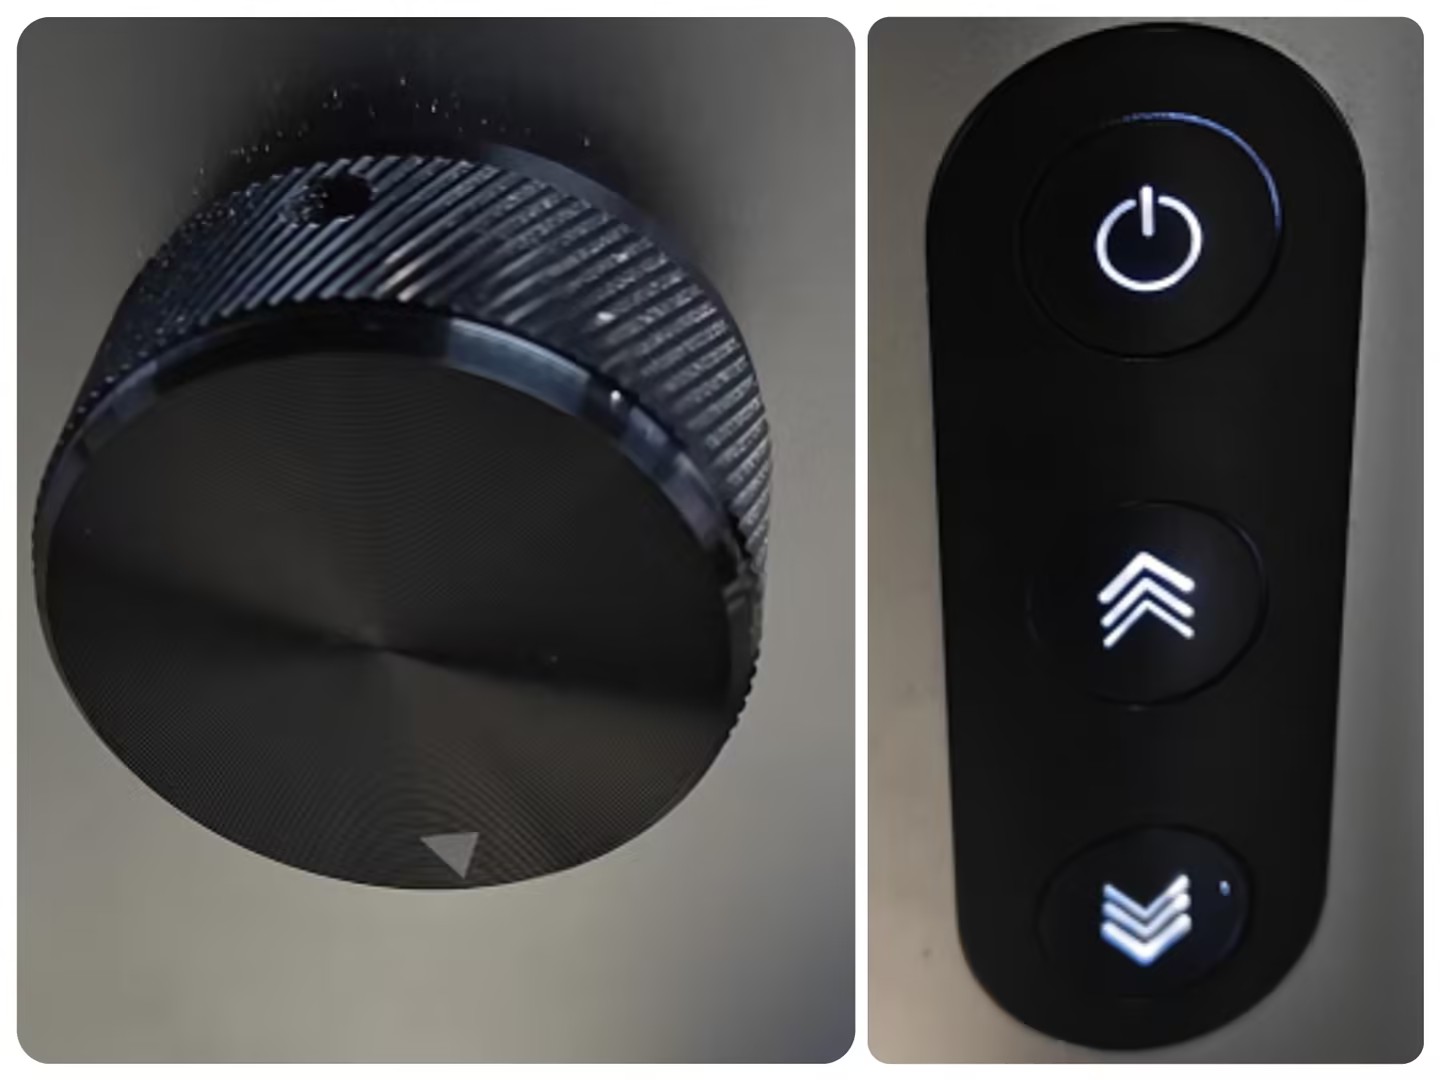
• Manual Adjustment: Slowly adjust the position with the manual knob to achieve precise overlap. (Shown on the left.)
¶ Laser Marking Process
¶ Pre-operation Preparation
1. Material Confirmation & Testing:
a. Identify Material Composition: For materials of unknown composition, test a small area first. Trial engrave on scrap material to observe the effect.
b. Test Parameters: For new materials or patterns, always test Power (W), speed, and number of passes on scrap material to find the best combination.
c. Check Material Flatness: Uneven materials will lead to inaccurate focus and inconsistent engraving depth.
1. File & Parameter Settings:
a. Check Graphics: Ensure graphics are vector paths (for cutting) or bitmaps (for engraving), with closed lines and no overlapping or redundant nodes.
b. Correct Parameter Settings: Set power (typically 30%-80% for engraving, 100% for cutting), speed (faster is shallower, slower is deeper), and line interval/resolution (DPI, affecting bitmap engraving fineness) according to the material and desired effect.
c. Distinguish Engraving & Cutting: Use different colors in the software to distinguish engraving and cutting paths, and assign corresponding power and speed.
2. Machine Inspection & Calibration:
a. Clean Lenses: Regularly clean optical components with specialized cleaning tools and solutions (such as anhydrous alcohol). Dirty lenses significantly affect power and precision.
b. Calibrate Optical Path: Ensure the laser path from source to exit is accurate, centered, and vertical.
c. Adjust Focus: Use electric or manual focusing to ensure the laser focus overlaps precisely on the material surface. This is key to engraving clarity.
¶ Preview/Positioning
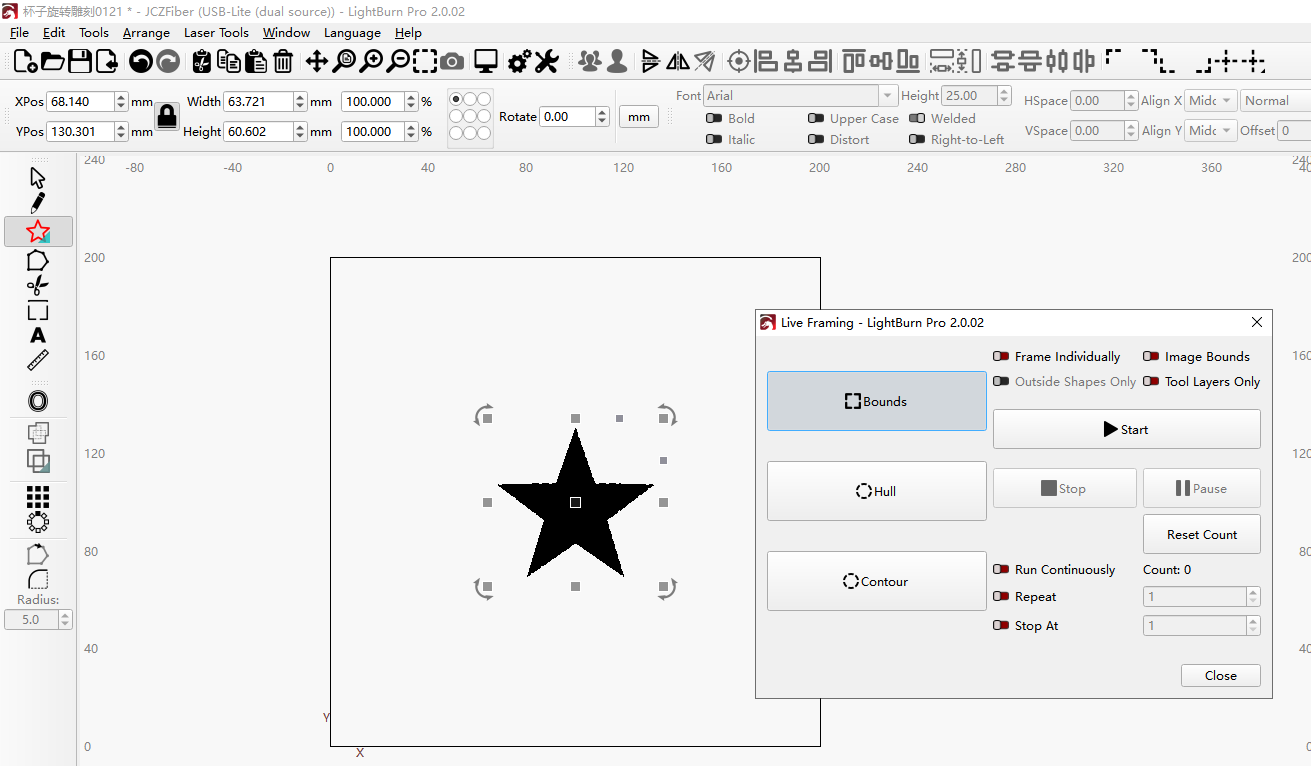
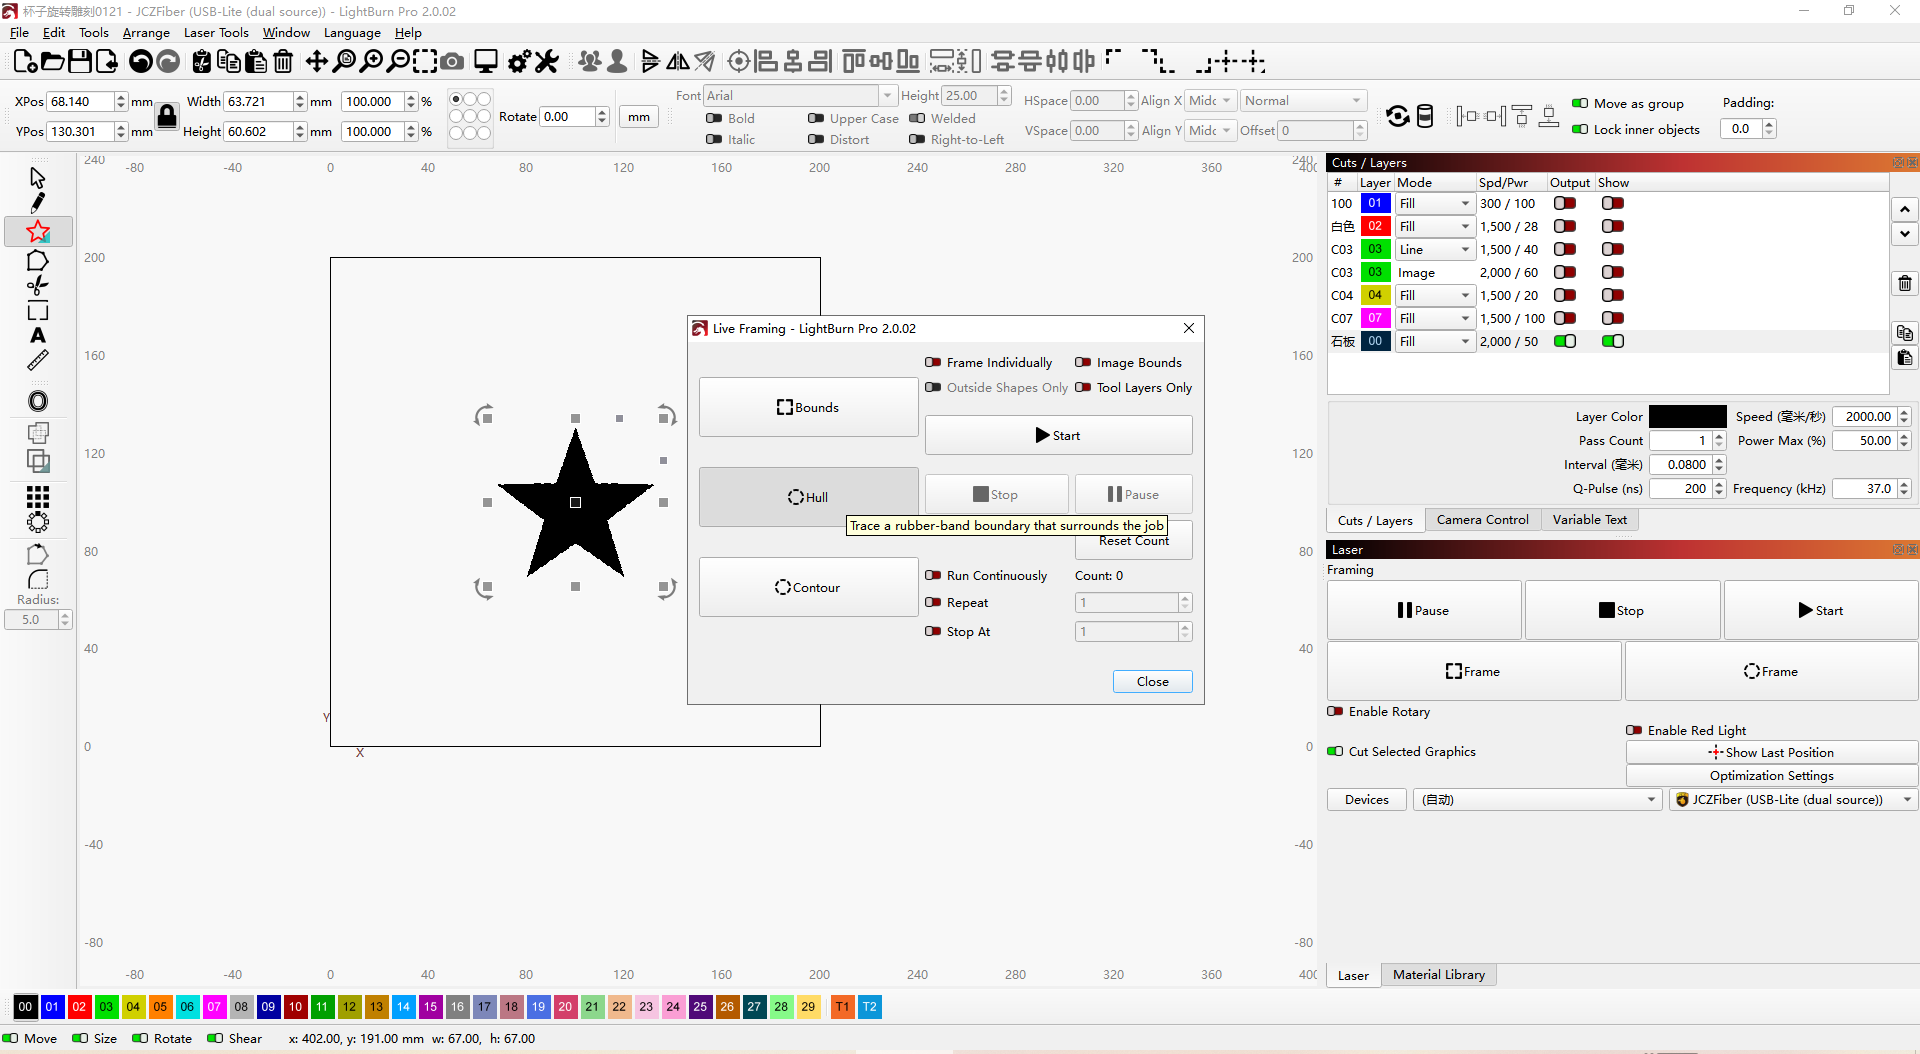
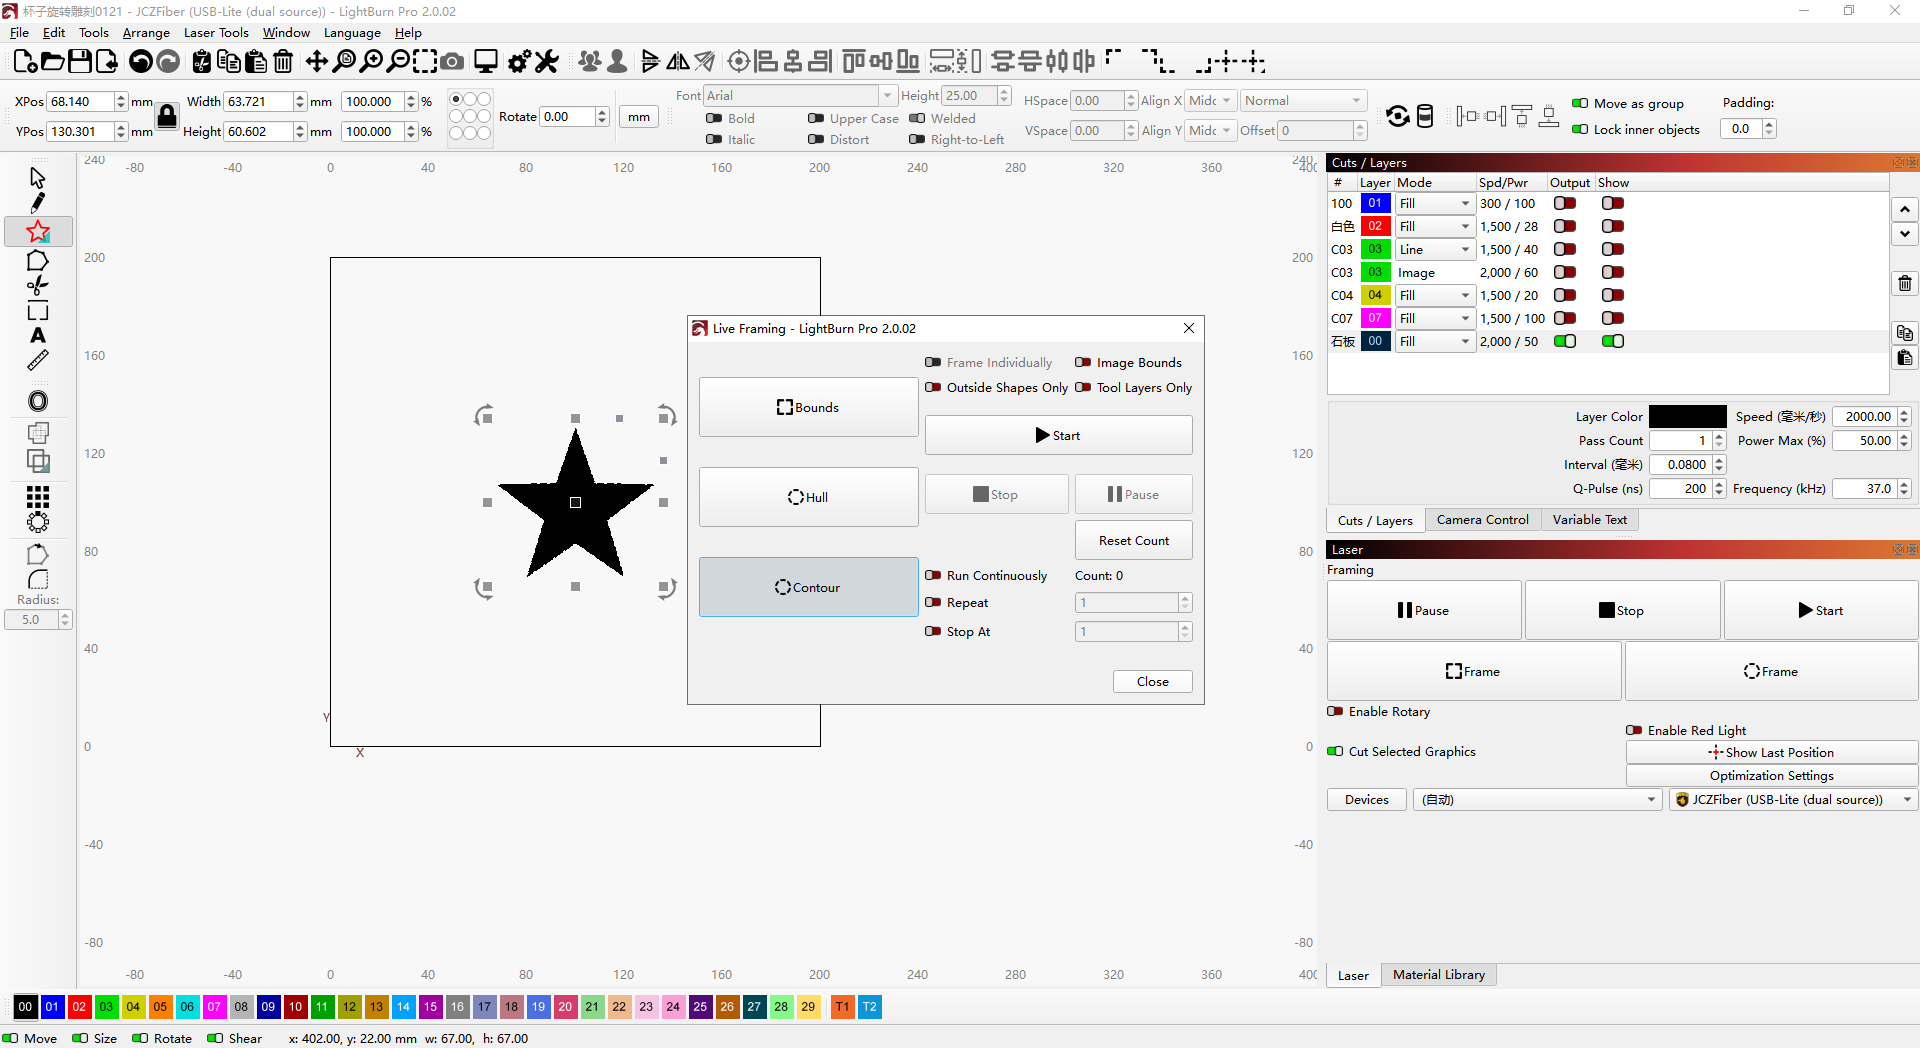
There are three preview modes: Bounding Box Preview, Outer Hull Preview, and Graphic Contour Preview.
• Bounding Box Preview: Traces the rectangle surrounding the pattern.

• Outer Hull Preview: Traces the shape formed by the vertices of the pattern.

• Graphic Contour Preview: Replicates the actual outline of the graphic 1:1.

¶ Startup Workflow/Precautions
Startup Workflow: Power on device → Electric focus → Import graphic → Set parameters → Preview position → Click engrave → Observe the effect before moving the engraved item to decide if secondary optimization is needed.
¶ Post-processing & Maintenance
1. Wait Patiently: After engraving, let the exhaust system run for a while to clear residual smoke. Wait until the laser head stops completely before opening the door.
2. Handle Parts Carefully: Newly engraved materials and the worktable can be very hot; avoid touching them directly with hands.
3. Cleaning & Maintenance: Promptly clean debris and residue from the processing area.
a. Regularly clean exhaust pipes using nitrogen cylinders.
b. Regularly clean the field lens according to the manual.
¶ Completion & Stopping
¶ Normal Completion Status:
1.The dust extraction fan stops rotating, indicating engraving is complete.
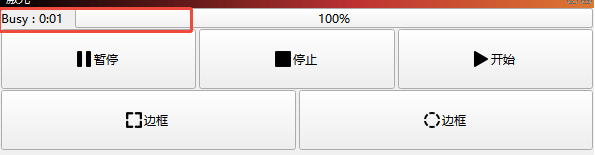
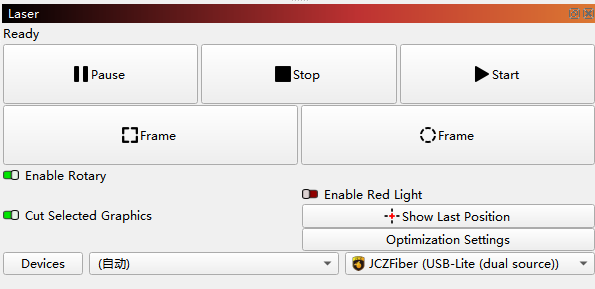
2.The software status prompt changes from Busy to Framing/Ready, indicating engraving is complete.
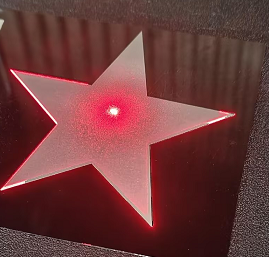
3.When the laser engraving process ends, and the red light preview frame reappears, it indicates the engraving is complete.
¶ Intermediate Stop Status:
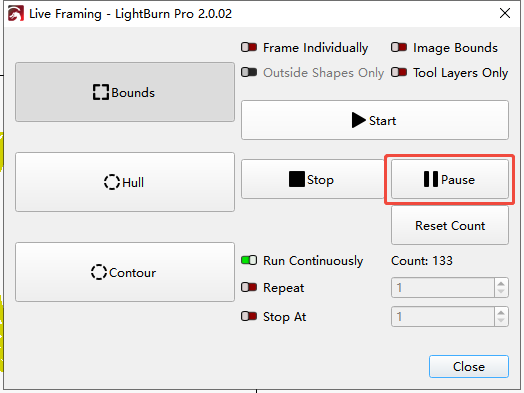
1.If an abnormality occurs, you can manually click Pause or Stop. Clicking start after a Pause can continue the interrupted pattern; after a Stop, the interrupted pattern cannot be resumed and must be restarted from the beginning.
2.You can also press the Emergency Stop button on the side of the machine to shut down the device and stop processing midway.
¶ Laser Marking Results
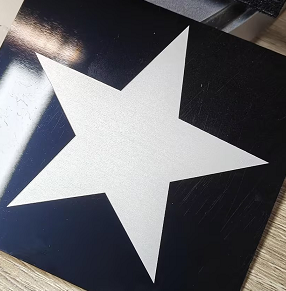
¶ Precautions
¶ Safety First
a. No Unattended Operation: The operator must never leave while the device is running. Many materials are flammable and can catch fire instantly.
b. Equip Firefighting Equipment: A fire extinguisher, fire blanket, or a bucket of sand must be available by the workbench.
c. Clear the Site: Keep the work area and device interior clean, free of debris, paper, solvents, and other flammables.
d. Use Dust Extraction/Air Assist: The SE device has air tubes and dust extraction; while sucking away smoke, it also lowers the focal temperature, reducing fire risks. Smoke purifiers can also be used for filtering.
¶ Protection Against Harmful Gases
a. Strong Ventilation/Exhaust: The exhaust system (dust extraction, purifier) must be turned on. Engraving produces toxic smoke and tiny particles (especially plastics and coated materials). Keep the room ventilated.
b. Identify Toxic Materials: Absolutely forbid engraving PVC (polyvinyl chloride), chlorine-containing materials, polycarbonate (PC) leather, etc., as they produce highly toxic chlorine gas, dioxins, etc.
c. Work in Well-Ventilated Areas: Even with exhaust, operate in a space with good air circulation.
¶ Personal Safety
a. Eye Protection: Blue laser light (mainly blue lasers) is visible light and can seriously damage the retina. Always wear the original or designated wavelength laser safety goggles. Never look directly at the laser beam or reflected light.
b. Avoid Physical Contact: Never place hands or any part of the body into the processing area while the machine is running.